


 https://youtu.be/WCo0fwmylZc
Formulas
Formulas
Formula 1: 20g Pure Light Ultra Lightener + 40g 10 Volume Creme Developer
Formula 2: 10g Pure Light Ultra Lightener + 20g 20 Volume Creme Developer
Formula 3: 20g ChromaSilk Creme Color – Beige 5.22 Light Intense Beige Brown + 10g ChromaSilk Creme Color – Intense Ash 5.11 Light Intense Ash Brown + 45g 10 Volume Creme Developer
Formula 4: 10g ChromaSilk Creme Color – Blended Neutrals 6.Nt2 / 6Ntbv Dark Neutral Beige Blonde + 10g ChromaSilk Creme Color – Beige 5.22 Light Intense Beige Brown + 30g 10 Volume Creme Developer
Formula 5: ChromaSilk Creme Hair Color 10g ChromaSilk Creme Color – Beige 6.22 Dark Intense Beige Blonde + 20g ChromaSilk Creme Color – Blended Neutrals 7.Nt2 / 7Ntbv Neutral Beige Blonde + 45g 10 Volume Creme Developer
Formula 6: 10g ChromaSilk Creme Color – Blended Neutrals 7.Nt2 / 7Ntbv Neutral Beige Blonde + 10g ChromaSilk Creme Color – Pearl 8.8 (8P) Light Pearl Blonde + 10g ChromaSilk Creme Color – Beige 9.22 Very Light Intense Beige Blonde + 45g 10 Volume Creme Developer
Formula 7: ChromaSilk Creme Hair Color 20g ChromaSilk Creme Color – Beige 9.23 Very Light Beige Golden Blonde + 30g 10 Volume Creme Developer
Application
Prep
Spray Purify & Revive PRIME Demineralizing Spray generously throughout the hair and comb through allowing it to sit for 3 minutes to diminish any minerals while you mix your formulas.
Sectioning
Create 4 Sections: Start by taking a 1” section around the hairline to the top of the ears. Next, take a horizontal section across the crown. The remaining hair will become your last section.
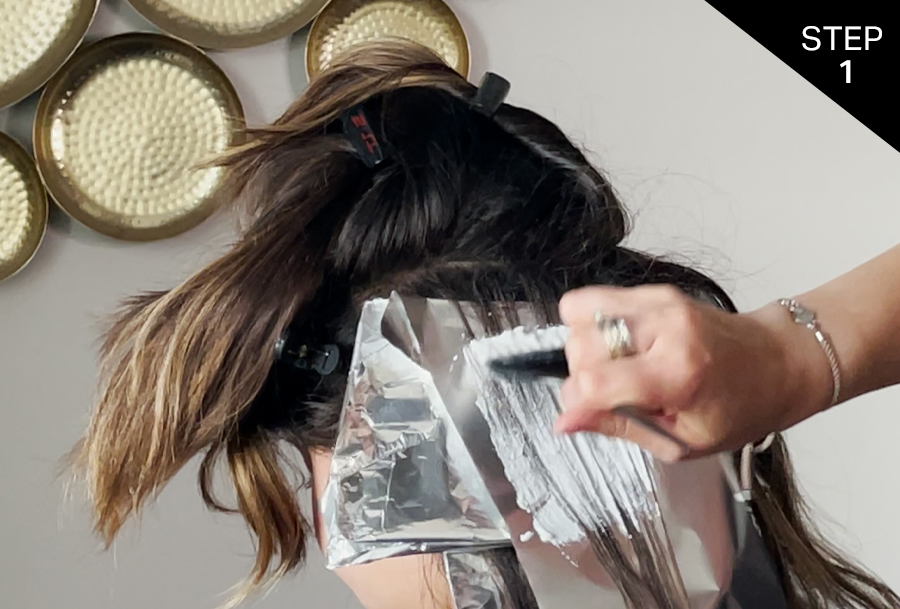
Step 1: Back Sectioning Lightening
Starting in the nape area, take a ¼” diagonal back parting on each side to form a “V”. Take a ¼” parting, teasy the hair gently and micro stitch (- – -), apply Formula 1*. Skip ¼” and take the next ¼” parting, tease the hair gently without weaving (______), apply Formula 1*. Skip ¼” and take another ¼” parting, tease the hair gently and macro stitch (– — –), apply Formula 1*.
*Apply Formula 1 without overlapping previously lightened hair and avoiding the teased roots. Repeat until you complete the entire back section.
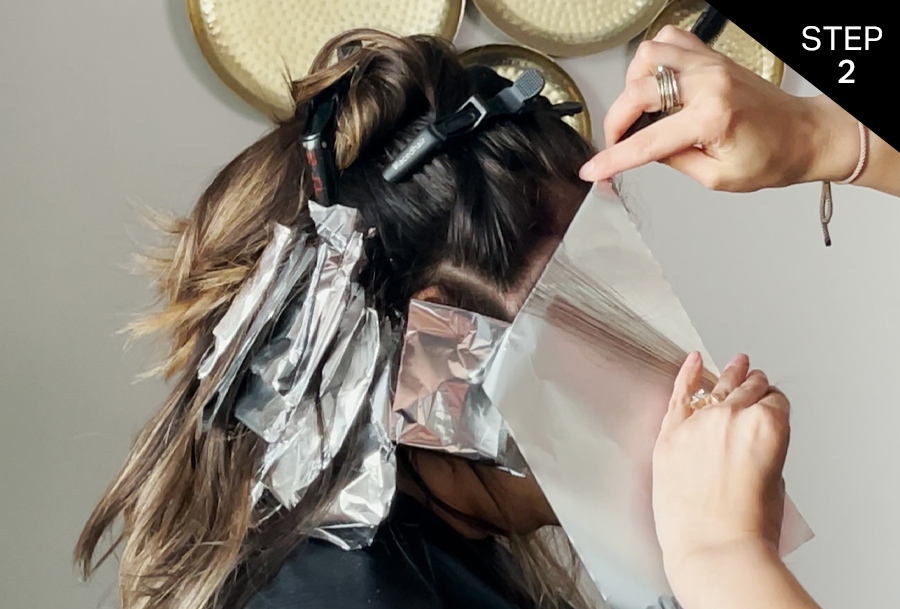
Step 2: Front Sections Lightening
Starting on one side, take a ¼” diagonal back parting, tease the hair gently and micro stitch (- – -), apply Formula 1*. Then, without skipping a section, take the next ¼” parting, tease the hair gently without weaving (______), apply Formula 1*. Repeat for the first 4-5 sections to create a face frame, then drop out ¼” in between partings until you complete the entire front section. Repeat on the other side.
*Apply Formula 1 without overlapping previously lightened hair and avoiding the teased roots.
Pro Tip
Back-to-back partings will create a face frame of concentrated lightness. Leaving out 1/4″ sections between your foils will create a more diffused finish.
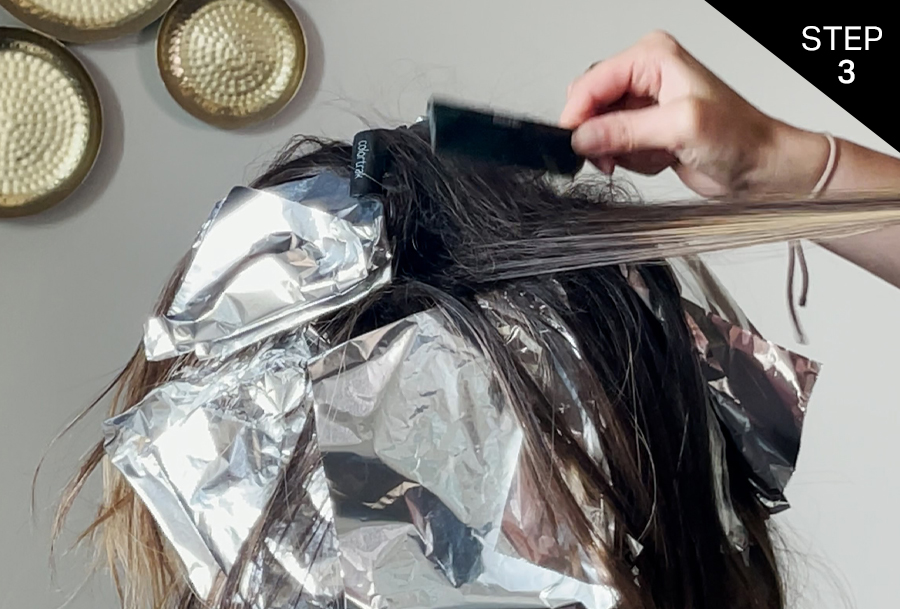
Step 3: Crown Section Lightening
Repeat Step 1 changing to Formula 2 taking horizontal 1/4″ partings and leaving 1/4″ between partings. Process until you reach a Level 8 yellow-gold. Shampoo only, towel dry and apply Silk Degrees Prep and Treat for 5 minutes. Rinse and towel-dry well.
Pro Tip
Through your lightening process you may gradually move up in developer volume so each section can process in the same amount of time.
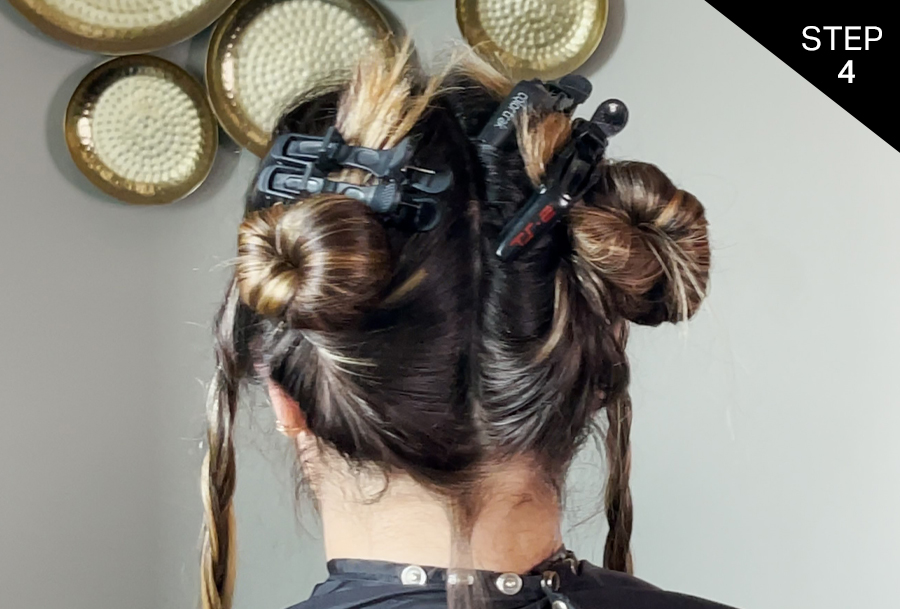
Step 4: Back Section Color Melt
Section the hair into 4 sections clipping away the face frame section and dividing the rest in half taking a ½” diagonal back parting from each side to form a “V”. Take a ½” section and apply Formula 3 to the roots dragging it down about 1”. Apply Formula 5 to the midshaft. Apply Formula 6 to the ends and blend the transition points. Repeat to the top of the occipital bone on both sides to create depth.
Pro Tip
Hold sections vertically and blend the transition areas well between your index and middle fingers for a seamless result
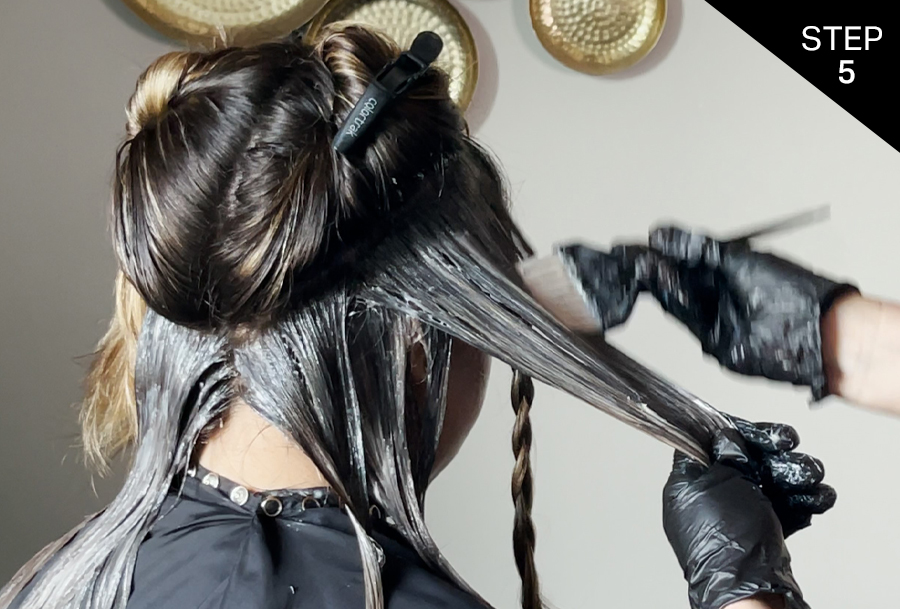
Step 5: Back and Crown Section Color Melt
Repeat Step 4 changing your formulas: Apply Formula 4 to the roots and drag down 1-2”. Apply Formula 6 to the midshaft. Apply Formula 7 to the ends and blend the transition points. Repeat throughout the remainder of the Back Section and throughout the Crown Section.
Pro Tip
For dimension and movement alternate how far you drag down Formula 4
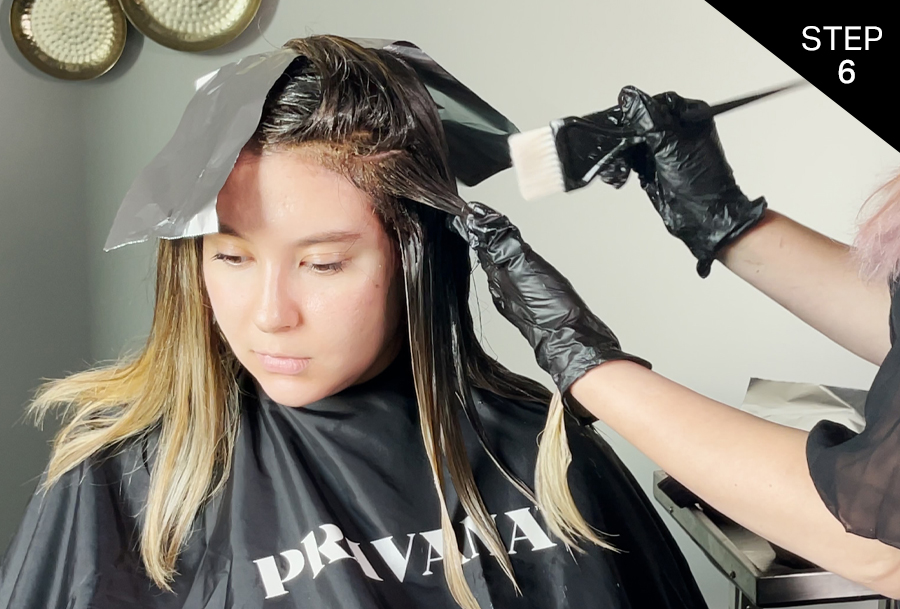
Step 6: Face Frame Color Melt
For the face frame, apply a small root tap of Formula 4 and apply Formula 7 to the mid-shaft and ends blending the transition area well.
Pro Tip
To keep the Face Frame light and bright, do not drag the tap root down. Use a meche sheet or foil to lay the face frame back and away from the face to keep sections neat and clean.
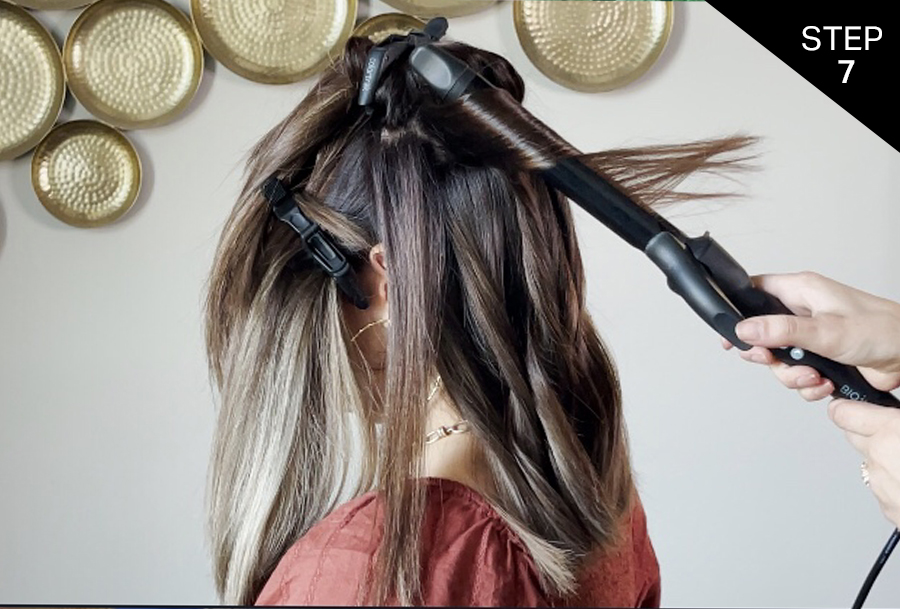
Step 7: Cleanse and Condition
Lightly cleanse and condition with PRAVANA’s TRUITY System. Towel-dry and apply TRUITY Thermal Blowdry Cream before blowdrying and styling.